Paint correction isn't one service — it's three distinct levels of work, and picking the wrong one leaves either money on the table or defects still sitting in your paint. This guide breaks down paint correction stages compared side by side: one-step, two-step, and three-step correction, what each one actually fixes, and which stage fits your vehicle heading into 2026.
- Two-step correction is the right call for most daily drivers correcting swirl marks and light oxidation in 2026.
- One-step correction is a quick gloss refresh, not a full correction — it skips deeper defects and RIDS.
- Three-step correction is built for show cars, exotic paint, and aircraft finishes with heavier defects.
- Royal Touch Mobile Detailing pairs paint correction with ceramic coating to protect the finish afterward.
Why this matters
Clear coat is thin and finite. Every polishing pass removes a small amount of it, so the goal of paint correction is removing the least material needed to get the result you actually want — not throwing the heaviest compound at every car that rolls up.
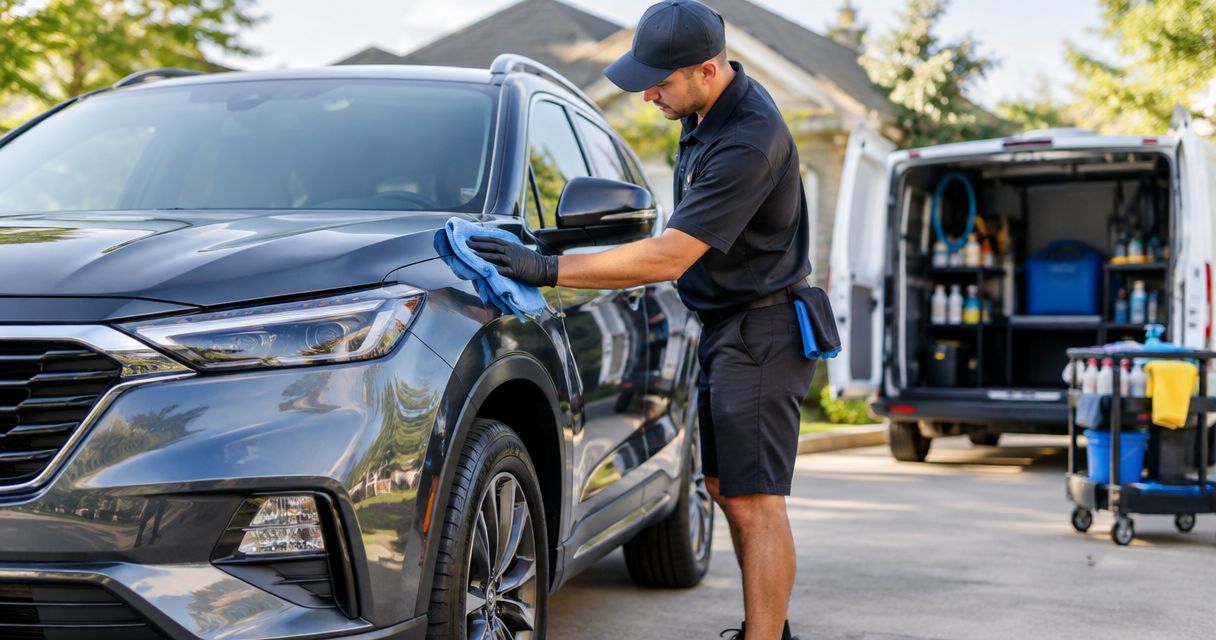
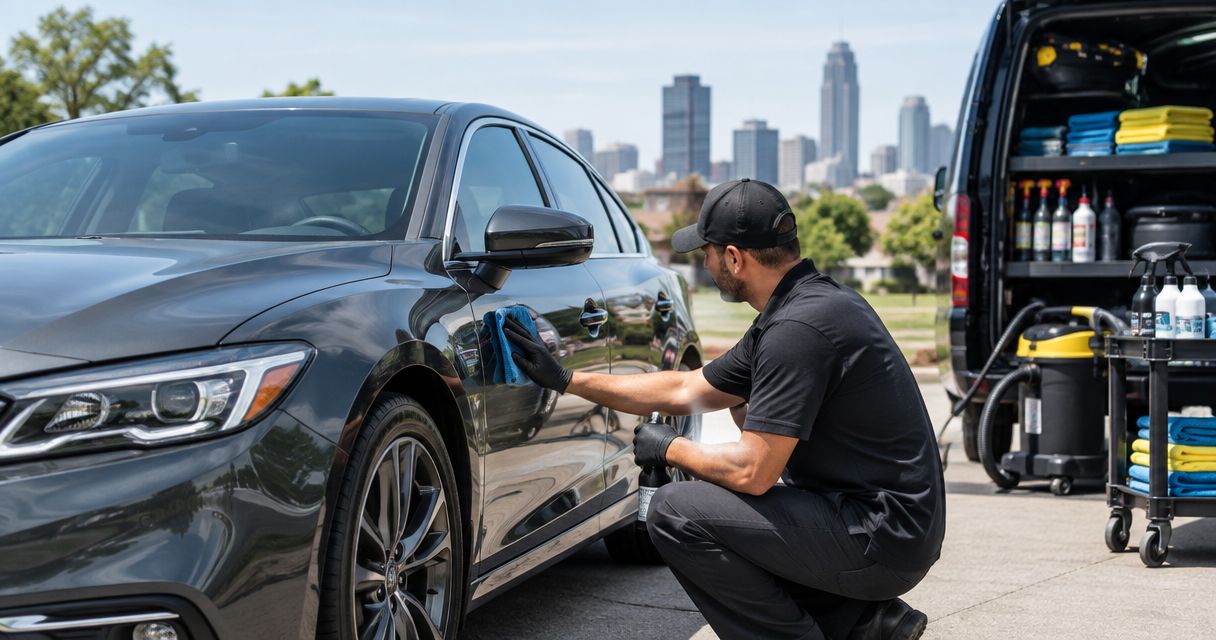
At Royal Touch Mobile Detailing, the approach is simple: inspect the paint under direct light first, then match the correction stage to what's actually there. That's the whole idea behind doing the job right the first time instead of guessing and hoping.
A one-step polish on a car that needs a three-step correction leaves swirl marks visible in sunlight. A three-step correction on a car that only needed a quick refresh burns clear coat you didn't need to remove. Neither outcome serves the owner.
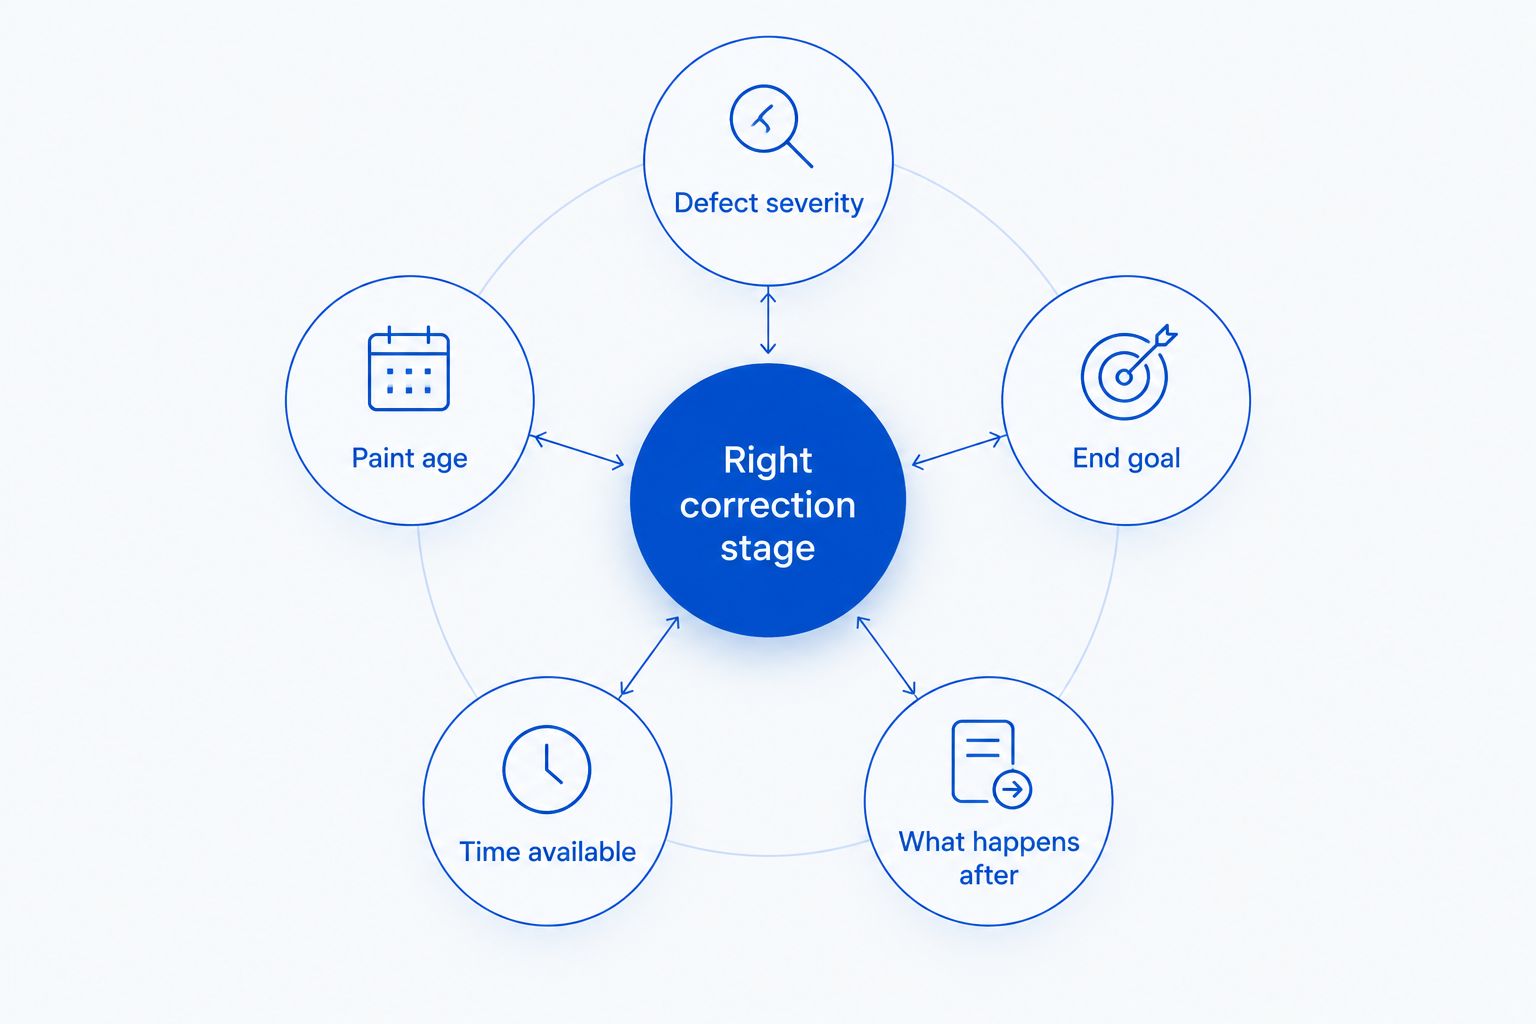
What makes the right paint correction stage
- Defect severity — light swirl marks versus deep scratches, oxidation, or RIDS (random isolated deep scratches)
- Paint age and hardness — older or softer clear coats correct differently than newer factory paint
- The end goal — a quick refresh before a weekend drive versus a show-quality finish
- Time available — a single mobile session versus multiple sessions across several days
- What happens after correction — whether ceramic coating or another protection layer is going on top
- Vehicle type — daily driver, performance car, RV, or aircraft paint all behave differently under a polisher
Paint correction stages at a glance
| Stage | Best for | Standout capability | Key limitation |
|---|---|---|---|
| One-step correction | Daily drivers wanting a quick refresh | Restores gloss and removes light swirl in a single pass | Doesn't touch deep scratches or heavy oxidation |
| Two-step correction | Most daily drivers heading into ceramic coating | Combines a cutting pass with a finishing polish pass | Takes longer than one-step and won't remove every RIDS |
| Three-step correction | Show cars, exotics, and aircraft paint | Adds a heavier cutting or wet-sanding pass before compounding and polishing | Needs the most panel time and isn't necessary for a daily commuter |
1. One-step correction: best for quick refresh and swirl reduction on daily drivers
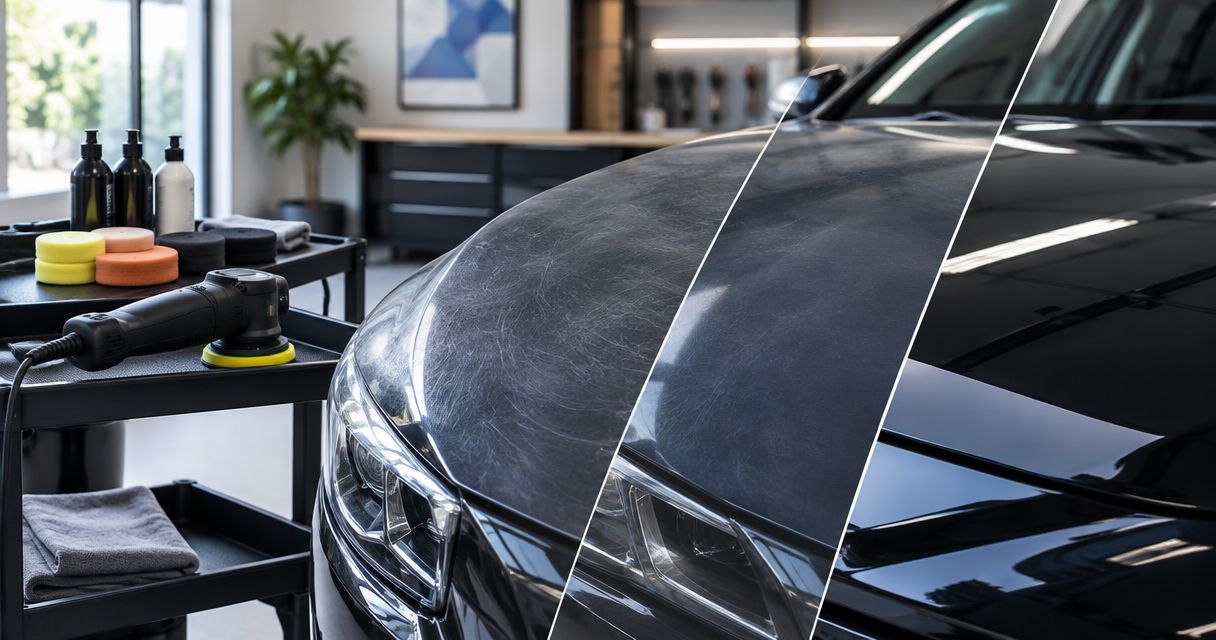
One-step correction is a single compounding or polishing pass with a machine polisher, designed to knock down light swirl marks and restore gloss without removing much clear coat. It's the right entry point when the paint looks tired but isn't genuinely damaged.
This is the stage most daily drivers actually need. If the car gets washed regularly and hasn't been through years of neglect, a one-step pass brings back most of the shine without a multi-day commitment.
One-step correction pros:
- Finishes in a single mobile detailing session
- Removes light swirl marks and restores gloss and clarity
- Costs the least clear coat removal of the three stages
- Works well right before applying a protective coating
One-step correction cons:
- Won't remove deep scratches, heavy oxidation, or RIDS
- Results look good but aren't show-level under direct sunlight inspection
- Not enough correction for paint that's been neglected for years
One-step correction verdict: Buy if your car is a daily driver with light swirl marks and you want same-day gloss restored before a wash-and-protect visit.
2. Two-step correction: best for correcting swirl and oxidation before ceramic coating
Two-step correction adds a dedicated cutting stage before the finishing polish. The first pass removes moderate swirl marks, oxidation, and shallow scratches; the second pass refines the finish to a clear, deep gloss.
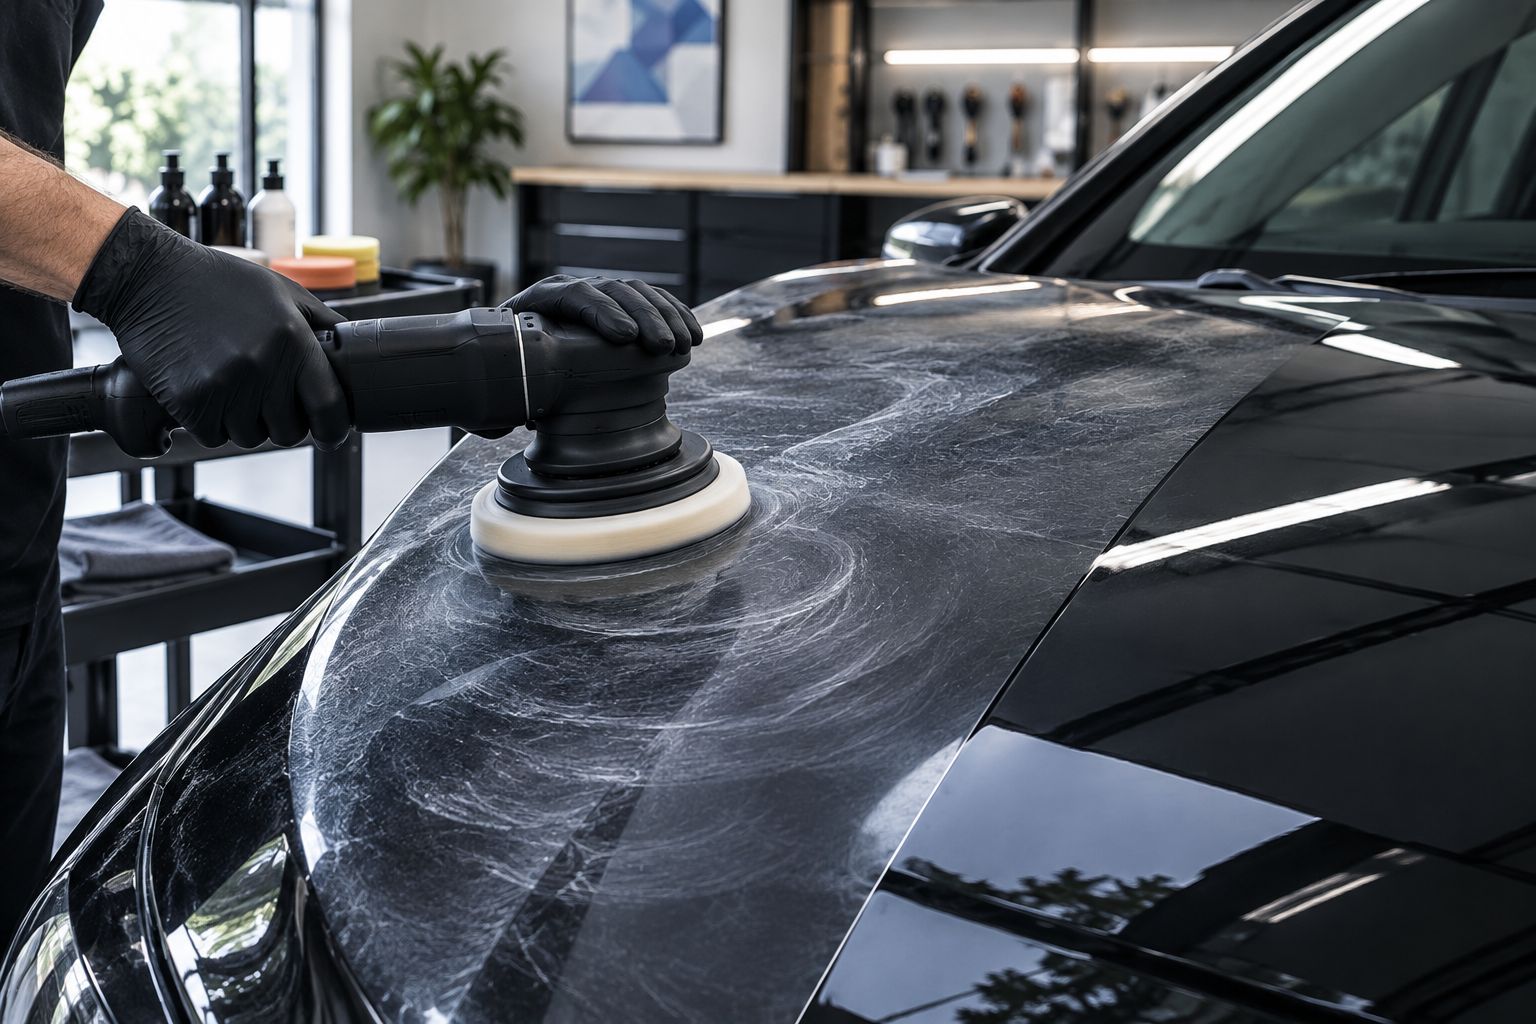
This is the most common stage requested across daily drivers and family vehicles, especially right before ceramic coating goes on. Coating locks in whatever the paint looks like underneath it, so correcting first matters more than the coating itself.
Two-step correction pros:
- Removes moderate swirl marks, oxidation, and shallow scratches
- Leaves a deeper, more reflective finish than one-step
- The standard prep stage before ceramic coating
- Works on most daily drivers and family vehicles without excessive clear coat removal
Two-step correction cons:
- Takes longer than a one-step pass, sometimes across more than one session
- Still won't remove every deep or isolated scratch
- Not necessary for paint that's already in strong condition
Two-step correction verdict: Buy for most daily drivers and family vehicles, especially ones getting ceramic coating applied afterward. Check the ceramic coating cost guide before booking both services together.
3. Three-step correction: best for show cars, exotic paint, and aircraft finishes
Three-step correction adds a heavier initial cutting stage, sometimes including wet-sanding on badly oxidized or clear-coat-failed panels, before the compounding and finishing polish passes. It's built for paint with real damage, not just tired shine.
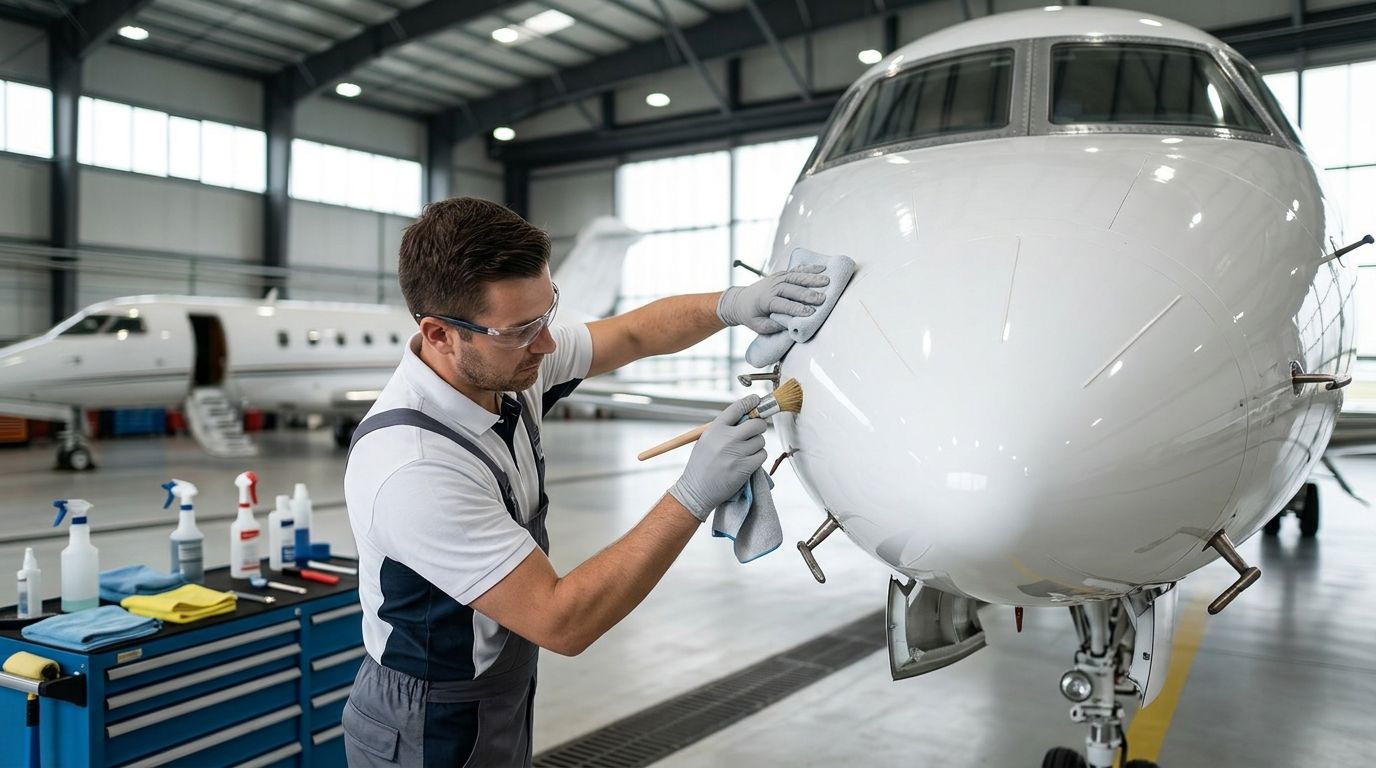
This is where premium and performance vehicles, rare paint colors, and private aircraft finishes belong. Aircraft paint gets inspected under the same kind of direct-light scrutiny as a show car, just on much larger panels. The layered logic doesn't change — it just takes more time to work across every surface.
Three-step correction pros:
- Removes deep scratches, heavy oxidation, and most RIDS
- The only stage suited to show-quality or competition-level finishes
- Appropriate for exotic, performance, and rare paint that's been neglected
- Matches the inspection standard used on private aircraft finishes
Three-step correction cons:
- Requires the most panel time of the three stages, often across multiple sessions
- Removes more clear coat, so it isn't repeated often
- Overkill for a daily commuter that will pick up new swirl marks within weeks anyway
Three-step correction verdict: Buy for owners of rare, high-value, or aircraft paint who want every defect addressed before a show, sale, or delivery. Wait if your vehicle is a daily driver that's back outside in traffic the next morning.
How this ranking works
Each stage was measured against the same six criteria: defect severity, paint age, end goal, time available, what's applied afterward, and vehicle type. One-step and two-step correction serve the overlapping needs of daily drivers at different levels of neglect. Three-step correction only earns its place when the paint or the goal genuinely calls for it — never as a default upsell.
“If a swirl mark still shows under direct sunlight after a one-step polish, the paint needs another pass — not another coat of wax.”
Which paint correction stage should you choose?
If you're not sure where your car falls, start with two-step correction — it covers the swirl marks and light oxidation that show up on most daily drivers by 2026 without removing more clear coat than necessary. Step down to one-step if the paint is already in good shape and you just want the shine refreshed. Step up to three-step only if you're preparing a show car, an exotic, or an aircraft finish for close inspection.
Book Mobile Detailing
Paint correction and ceramic coating done at your driveway across NC, VA, and SC.
FAQ
What's the best paint correction stage for a daily driver?
Two-step correction is the best fit for most daily drivers in 2026 — it removes moderate swirl marks and light oxidation without excessive clear coat removal. One-step works if the paint is already in decent shape and just needs a refresh.
Is three-step correction worth it for a leased or daily-driven car?
Usually not. Three-step correction is built for show cars, exotic paint, and aircraft finishes with real damage, and the extra clear coat removal isn't necessary on a car that will pick up new swirl marks in daily traffic anyway.
How long does two-step paint correction take?
Two-step correction usually takes longer than a one-step pass and can run across more than one session depending on the vehicle's size and paint condition. A single-panel refresh is much faster than a full multi-panel correction.
Does paint correction remove scratches completely?
Light swirl marks and shallow scratches respond well to one-step and two-step correction. Deep or isolated scratches, known as RIDS, often need the heavier cutting pass in three-step correction, and some very deep scratches never fully disappear without repainting.
How often should paint correction be redone?
There's no fixed schedule — it depends on how the paint is maintained afterward. A car protected with ceramic coating and washed carefully needs full correction far less often than one exposed to daily commuting and automatic car washes.
Is paint correction safe for aircraft paint?
Aircraft finishes follow the same layered correction logic as automotive paint, just across much larger panels that take more time to inspect and work through under direct light.
Should ceramic coating be applied after paint correction?
Yes — ceramic coating locks in whatever the paint looks like underneath it, so correcting swirl marks and oxidation first gets more value out of the coating than applying it over uncorrected paint.
What's the difference between polishing and paint correction?
Polishing is a general term for using a machine to add shine, while paint correction specifically targets and removes defects like swirl marks, oxidation, and scratches through one or more measured passes.
One last thing
The same layered approach used on a show car's paint applies to an aircraft's clear coat — the panels are just bigger, and the inspection light matters more once you're standing outdoors on a tarmac instead of under shop lighting. Whether it's a daily driver, a performance car, or a private aircraft, the principle stays the same heading into 2026: match the correction to what's actually in the paint, and do it right the first time.